
Bring the scent experience into your building’s daily routine. Plan the equipment position, air connection and fan coordination together, so your installer and facilities team have a clear path from setup to everyday use.
This guide explains how to install an HVAC scent diffuser at the planning and commissioning level. Use the current model manual for the actual fittings, connection location and electrical details.
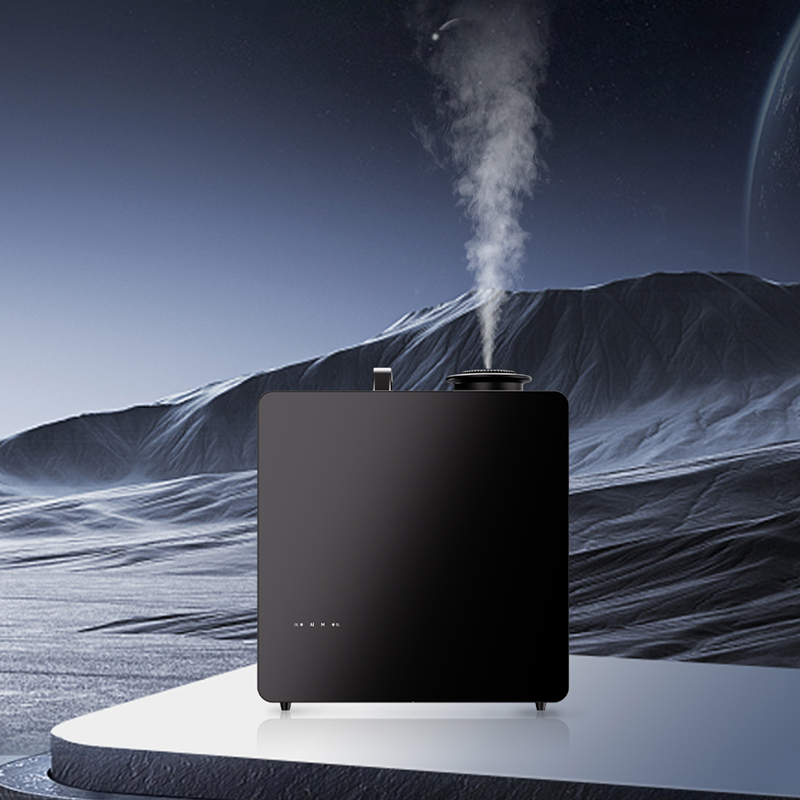
A good setup serves the intended spaces and leaves your team a practical way to operate and maintain the equipment. This HVAC scent diffuser installation guide uses RAMOND K51S as the model discussion path.
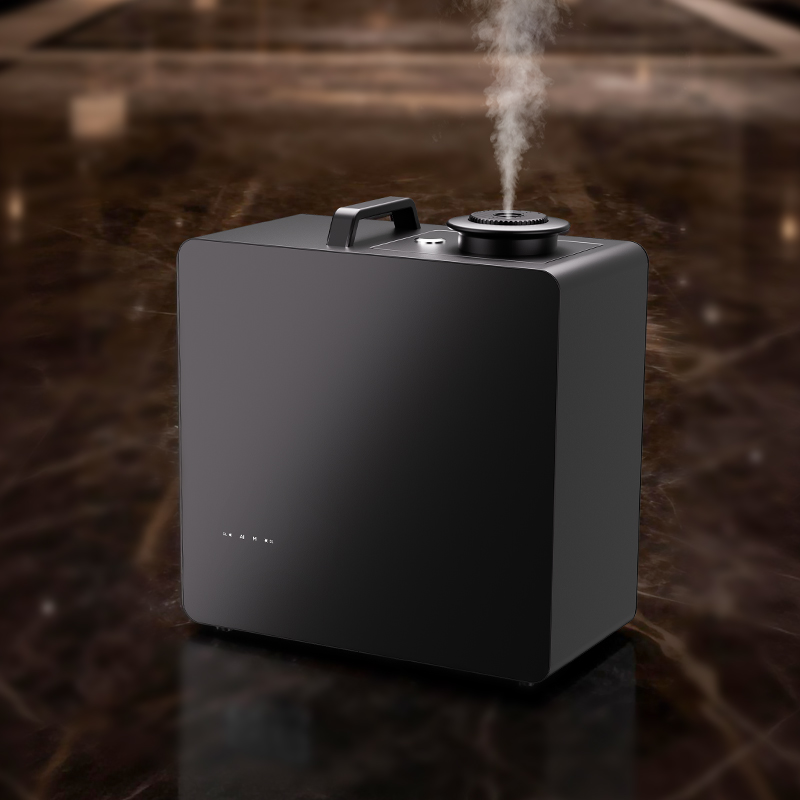
The K51S listing describes a duct-connected option as well as standalone use. For a suitable air route, a duct-connected layout can keep scent delivery tied to the intended ventilation path while equipment placement is planned around service access.
The described weekly scheduling gives your team a way to arrange planned operating windows around the business routine. Whether output must respond to actual fan status is a separate control decision.
For a retrofit, bring the existing connection and control details into the discussion before choosing the replacement configuration.
A clear installation brief turns separate conversations about the device, duct and service route into one coordinated plan. Share it with procurement, the installer and the person who will look after the equipment.
Mark the rooms and corridors to be included, the air handler serving them and any spaces to exclude. Add area, ceiling height, ventilation and door activity so the layout reflects the building rather than a headline coverage figure.
Allow for stable mounting, the intended supply and access to the reservoir and serviceable parts. Plan how staff will reach the unit for refilling; avoid treating the hidden equipment location as an afterthought.
List the exact device variant, power supply, mounting, delivery line, fittings, oil and documentation. Allocate the site connection and commissioning work before the equipment arrives.
Record normal hours, intermittent operation, shutdowns and restart behaviour. Include the supported control signal or arrangement where fan-status coordination is part of the requirement.
Treat the device position, delivery line and approved duct connection as one arrangement. A model-specific plan helps the installer identify the right parts and leaves operations a clear service route.
Agree mounting, supply and reservoir access using the model’s installation instructions.
Use the model-approved outlet arrangement, line and fittings for the proposed connection.
Have the HVAC team identify the permitted connection point for the actual air-handling layout.
Agree how output, airflow and the intended zones will be assessed before handover.
The connection location must suit both the model and the building’s air-handling arrangement. The overview above shows the planning sequence, not a universal drilling or wiring detail. Use the current K51S instructions and the installer’s approved site arrangement for location, line routing and electrical work.
Set up planned scenting windows around the way the space is used. When the fan runs intermittently, define the required response to fan stop and restart as well as the normal schedule.
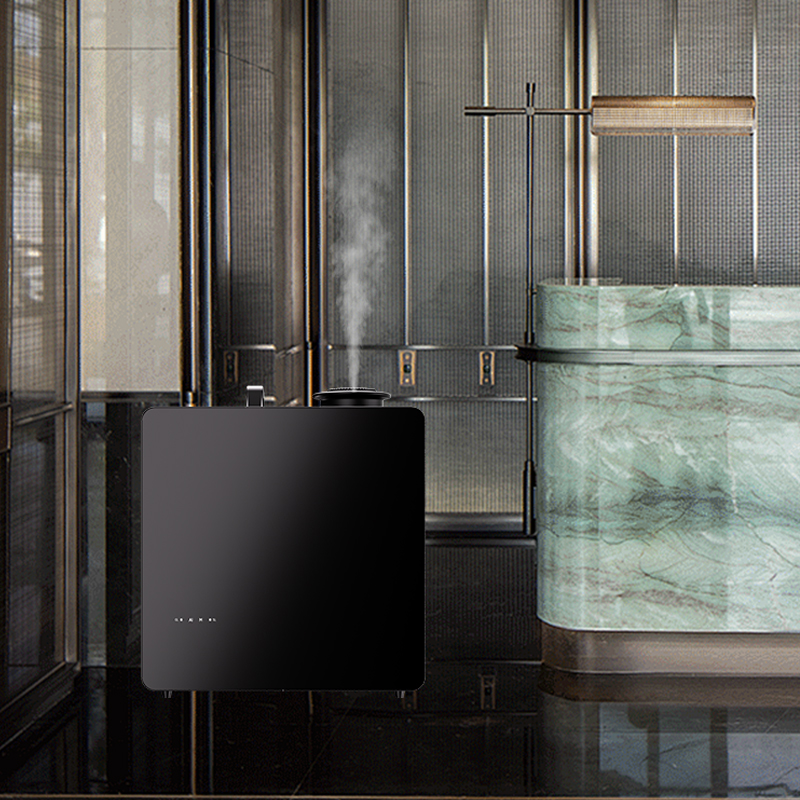
Regular fan hours: align the planned scenting windows with confirmed fan operating periods, then test the start and stop behaviour before handover.
A weekly timer supports planned windows; it does not measure whether the fan is actually moving air. If the project needs fan-status tracking, the exact supported signal, interface and response need to be demonstrated with the installer.
Keep the agreed settings and operating instructions with the unit so the facilities team can make routine adjustments from a known starting point.
Commissioning connects the proposed settings to the experience in the occupied space. Record the model, oil, position, airflow state and spray schedule so an adjustment can be understood and repeated.
With the installer, demonstrate the approved startup, fan-running, shutdown and restart arrangement. Check output behaviour against the intended operating plan, including any supported fan-status interface.
Observe scent strength and distribution at agreed locations such as entry, reception and distant points. Include the team working in the space, rather than judging beside the outlet alone.
Log the settings, operating period, oil use and observations. Walk through refill access and the manual’s maintenance procedure before deciding the setup is ready for routine use.
Capture the symptom before changing several settings. A short record gives the installer and product team something specific to work with.
| Observation | Record first | Next discussion |
|---|---|---|
| Little or no fragrance at target points | Fan state, operating window, oil, device indication and the locations assessed | Compare operation with the agreed baseline; have the installer assess the delivery route |
| Stronger near one point than elsewhere | Affected locations, output setting, doors and ventilation changes | Reassess position / air route and change one condition at a time |
| Output continues during a fan stop | Time, fan status, schedule and the expected control response | Do not treat fan coordination as complete; resolve the documented operating arrangement before handover |
| Oil use or servicing differs from the plan | Actual run time, spray / pause cycle, oil used and refill access | Compare like-for-like operating periods and revise the service plan |
Your facilities team needs to know what was fitted, how it should run and who to contact when a question arises. Agree the installation and support responsibilities while the project team is still together.
| Owner to agree | Useful handover item | Value to the next team |
|---|---|---|
| Equipment supplier | Exact variant, approved accessories, operating manual and support contact | A clear source for product and configuration questions |
| Site installer / HVAC team | Connection arrangement, site work, control setup and commissioning record | A traceable installation and a known operating baseline |
| Facilities / operations | Schedule, refill access, approved oil and maintenance routine | An everyday process that the responsible staff can follow |
| Buyer and support provider | Written warranty, exclusions, service scope and claim process | Clear responsibilities if product or installation support is needed |
Site installation and commissioning should be assigned in the project scope; they are not automatically included with the device. Warranty coverage follows the written terms for the exact product and the agreed work. Keep product-support and site-installation responsibilities distinct.
Use the current model’s approved procedure and fluids. Make the required access and staff responsibilities part of the service routine, rather than borrowing a cleaning recipe from another diffuser.
Share the equipment and site details so your discussion starts with the configuration you plan to install. Include fan behaviour and the installation stage, along with the questions your team wants to resolve.
Prepare: model / variant · country · target zones and air route · proposed equipment position · fan hours and available signal · power and accessories · installer / service responsibilities · quantity and sample or branding needs.


