
Views: 0 Author: Site Editor Publish Time: 2026-07-07 Origin: Site


Unmaintained essential oil diffusers do more than just emit weak scents; they aerosolize stagnant water bacteria, harbor mold, and suffer premature hardware failure due to corrosive oil degradation. Users and facility managers frequently void warranties or destroy ultrasonic plates by using incorrect cleaning agents, abrasive materials, or neglecting mineral buildup. Establishing a strict, evidence-based maintenance protocol prevents hardware decay and ensures optimal performance.
This guide breaks down the technical requirements for cleaning an Essential Oil Diffuser, evaluating chemical agents, and troubleshooting performance drops to maximize device lifespan. By understanding the mechanics of your device and applying the correct solutions, you can prevent costly replacements and maintain a healthy environment.
Understanding how an aroma diffuser operates is necessary to understand why specific cleaning methods are required. Success is defined by maintaining optimal ultrasonic frequency and preventing plastic degradation. The core of most modern diffusers is a small ceramic disc located at the base of the water reservoir. This plate vibrates at ultrasonic frequencies to agitate the water and oil mixture, breaking it down into a fine mist. Heavy essential oils, such as vetiver, sandalwood, or patchouli, leave dense lipid layers on this disc. Over time, this residue dampens the vibrations, causing weak mist output or complete failure.
Citrus oils are naturally high in limonene, a potent solvent. While excellent for aromatherapy, limonene can etch and degrade polycarbonate water reservoirs if left sitting for extended periods. This chemical reaction necessitates immediate post-use cleaning to prevent the plastic from becoming cloudy, brittle, or prone to cracking. We see this constantly in the field where users leave sweet orange or lemon oil sitting in the tank over the weekend. By Monday, the plastic has micro-fractures. You must empty and wipe the tank immediately after the cycle finishes.
Tap water contains varying levels of calcium and magnesium. As water evaporates during the misting process, these minerals remain in the reservoir, creating a hard scale over the sensors and heating elements. This buildup often leads to false empty tank shut-offs, where the device powers down despite having adequate water levels. The sensors rely on electrical conductivity through the water. When a layer of calcium coats the metal prongs, the circuit breaks. The machine assumes it is dry and shuts off to protect the motor. Descaling is the only way to restore sensor function.
Comparing household chemicals against commercial solutions helps determine the safest, most effective approach for your hardware. You cannot just grab whatever is under the sink. Using the wrong chemical will melt the O-rings or short the ultrasonic plate.
| Cleaning Agent | Pros | Cons | Best Use Case |
|---|---|---|---|
| White Vinegar (Acetic Acid) | Excellent for dissolving hard water mineral scale; inexpensive. | Strong odor requires flushing; high acidity can degrade rubber O-rings over years of heavy use. | Bi-weekly active misting flush or passive overnight soaking. |
| Isopropyl Alcohol | Rapidly cuts through dense, sticky essential oil resins; evaporates quickly without leaving moisture. | Flammable; should not be run through the misting cycle. | Spot-cleaning the ultrasonic plate and sensors via cotton swab. |
| Mild Dish Detergent | Safe for all plastics; effectively binds to surface oils. | Requires thorough rinsing; residual soap causes foaming. Must never submerge electronic bases. | Immersion washing of detached, non-electrical reservoirs or decorative covers. |
| Commercial Cleaner | Pre-formulated to descale and degrease without voiding manufacturer warranties. | Higher recurring cost compared to household items. | Ideal for high-end or commercial devices requiring a dedicated essential oil diffuser cleaner. |
Strictly prohibit the use of bleach, ammonia, boiling water, and abrasive scouring pads. Bleach and ammonia leave toxic residues that aerosolize during the next use. Boiling water warps plastic reservoirs, instantly destroying the structural integrity of the device. Abrasive pads scratch the ultrasonic plate, permanently ruining its ability to vibrate at the correct frequency. If you scratch the ceramic coating on the disc, water will penetrate the electronic housing below, causing a dead short.
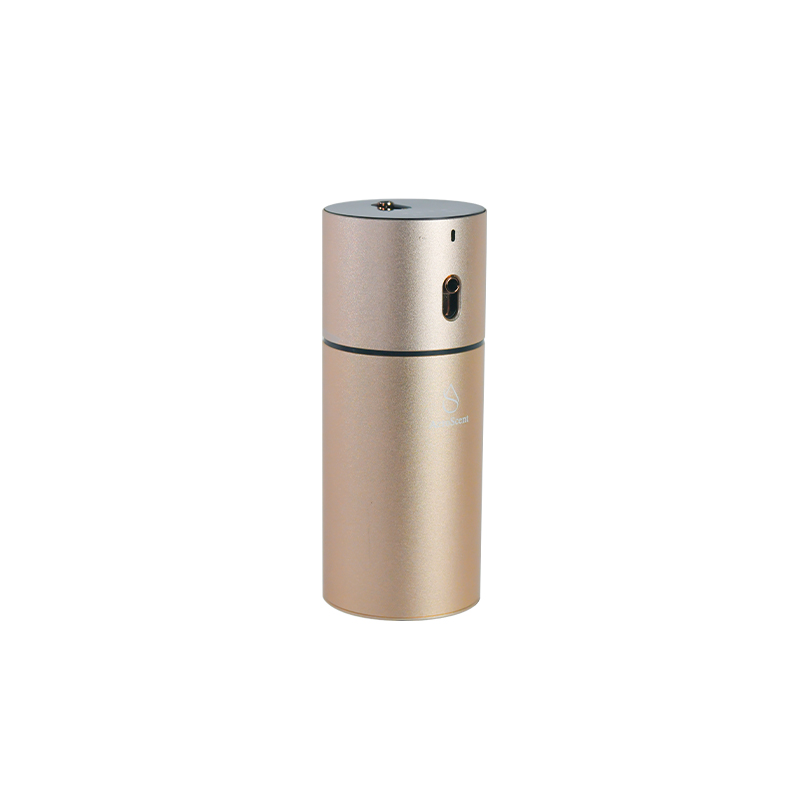
Improper cleaning techniques, like submerging the base or letting water leak into the air intake, cause electrical shorts. These protocols mitigate water-damage risks while ensuring a thorough clean. Follow these steps exactly to maintain your equipment.
Use this method to address heavy scaling or musty odors without dispersing vinegar vapor into the room, which is essential for sensitive environments. Fill the reservoir halfway with a 1:1 ratio of white vinegar and room-temperature water. Allow the mixture to sit passively for 2 to 4 hours, or overnight for extreme scaling, without turning on the misting function. Afterward, empty the tank, wipe down the residue with a cotton pad, rinse thoroughly, and dry.
This applies to units featuring fully removable, non-electrical water tanks or outer decorative sleeves made of glass, ceramic, or plastic. Submerge only the detached, non-electrical components in warm (not hot) water mixed with a few drops of mild dishwashing liquid. Explicitly avoid using hot or boiling water, which causes structural warping. Ensure all components are 100% dry before reassembling to avoid short-circuiting the main electronic base.
Spas, yoga studios, and retailers purchasing essential oil diffuser wholesale units require strict guidelines. Implement batch-cleaning strategies where staff perform Protocol 2 bi-weekly across all units. Track these actions in maintenance logs to ensure health-code compliance and protect bulk hardware investments from premature failure. Assign specific staff members to handle the maintenance logs. When you manage fifty units across a facility, skipping a maintenance cycle leads to massive hardware failure rates.
Diagnosing whether a device needs cleaning, repair, or replacement depends on observing specific failure symptoms. Do not throw away a unit just because it stops misting. Most issues are simple maintenance failures.
This typically indicates a clogged ultrasonic plate or a water level exceeding the Max fill line. Perform Protocol 5 using an alcohol swab to clean the disc, and verify that water levels are correct before restarting. If you overfill the tank, the ultrasonic waves cannot break the surface tension of the water, resulting in zero mist.
Mineral scale often blocks the internal water sensor, tricking the device into thinking the tank is empty. Perform Protocol 2 (Active vinegar descale) or Protocol 3 (Passive soak) to dissolve the minerals and clear the sensor. The sensor is usually a small metal pin or ring near the bottom of the tank. Keep it spotless.
Musty smells point to mold growth in the mist tube or rancid carrier oils left in the reservoir. Execute a deep clean with a dedicated enzymatic cleaner and inspect the bottom air intake for dust blockages. Dust buildup in the fan intake restricts airflow, causing the motor to run hot and bake the oil residue onto the plastic.
Grinding indicates a fan obstruction or a failing motor. Clear any dust from the bottom intake vent using compressed air. If the noise persists after cleaning, the internal hardware is likely failing, and you should evaluate the unit for replacement. Fans bear the brunt of continuous operation. Once the bearings wear out, the unit is done.
Preventative maintenance begins before the device is even turned on. Your choice of inputs drastically affects the cleaning frequency. You control the variables that dictate hardware lifespan.
Evaluate the cost of purchasing distilled water versus the labor of frequent descaling required when using hard tap water. Distilled water leaves zero mineral residue, extending the time between deep cleans. However, note that some diffusers actually require the minerals found in tap water for their conductivity sensors to function properly. Always cross-reference your specific user manual. If your manual specifies tap water, you must adhere to a strict descaling schedule.
Synthetic fragrance oils or essential oils diluted with heavy carrier oils, like fractionated coconut oil, clog diffusers significantly faster than 100% pure essential oils. Pure oils vaporize cleanly, while heavy carriers leave a thick, sticky film that requires constant alcohol swabbing to remove. Stop using cheap oils if you want your hardware to last. The money you save on cheap oil is lost when you have to replace the diffuser every three months.
Regular, systematic cleaning is non-negotiable for the safe and effective operation of your hardware. Neglect guarantees a shortened lifespan, weak mist output, and potential respiratory irritants from mold growth. If a deep clean, passive soak, and alcohol swab do not restore misting function, the ultrasonic plate has likely degraded beyond repair, making replacement more cost-effective than attempting electrical repairs.
A: Perform a quick wipe-down daily after use to remove fresh oil residue and prevent stagnant water. Conduct a thorough deep clean every two weeks to remove mineral scale and stubborn lipid layers, depending on your usage frequency.
A: Yes. Running a mixture of water and 10 drops of white vinegar for 3 to 10 minutes is highly effective for descaling the internal mist tube. Always ensure the room is well-ventilated and rinse the reservoir thoroughly afterward.
A: Yes. A passive, 1:1 water-to-vinegar overnight soak is highly effective for breaking down stubborn mineral scale. Ensure the unit remains unplugged and that the reservoir plastic is chemical-resistant.
A: Bubbling without mist means the internal fan is working, but the ultrasonic plate is likely clogged with heavy oil residue or mineral scale. The plate cannot vibrate fast enough to atomize the water. Clean the disc with isopropyl alcohol.
A: Dish soap is safe for detached reservoirs or outer covers washed in the sink. However, avoid using it inside the main electric base, as residual soap causes severe foaming and disrupts the misting process. Use alcohol or vinegar instead.
A: For routine maintenance, 90% isopropyl alcohol and white vinegar are excellent DIY solutions. For high-end commercial units, commercial warranty-safe enzymatic cleaners provide superior degreasing without risking plastic degradation.
A: Unplug the unit and wipe out visible mold. Fill the tank halfway with a 1:1 ratio of white vinegar and water. Let it soak passively for 4 hours to kill mold spores, then scrub gently, rinse, and air-dry completely.


